Panels
As part of expanding my production processes, I've taken the next step in production scale: panelised boards rather than separate boards. The idea behind this is rather than applying paste to one board, you apply it to a panel of boards which has multiple copies of the design. Once reflow is done, you can split these by hand into final boards you want.
For the newest revision of the Breadboard PSU, I got panels made by Hackvana, who do fantastic high quality PCB production ideal for hobbyists like myself. I worked with Mitch from Hackvana on the panel, providing a single design and then approving the panelised version he'd built. Only a few days later, the panels turned up, and they looked great.
To actually get them soldered up and ready to ship out to Nicegear, it's almost the same process I normally would go through for a single board, but now it's multiple copies at once.
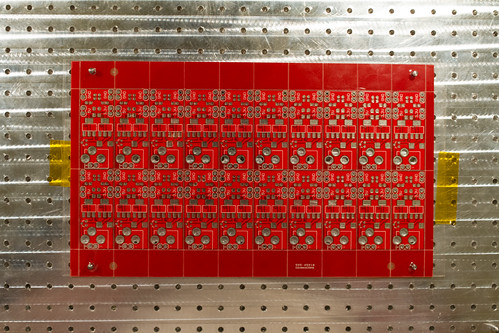
The process begins with applying paste to the board. Here you can see the multiple copies making up the panel, and empty board around the outside. There are four holes in the corners which align with the holes in the metal plate below, and have 2.5mm pins in them. The stencil is taped down on top of the board, and also has holes where the pins are.
Applying paste is just like you would for any other board, smear solder paste on the stencil, and then scrape it off. Once you've removed the stencil and released the board from the pins, you get a panel with paste applied to the pads:
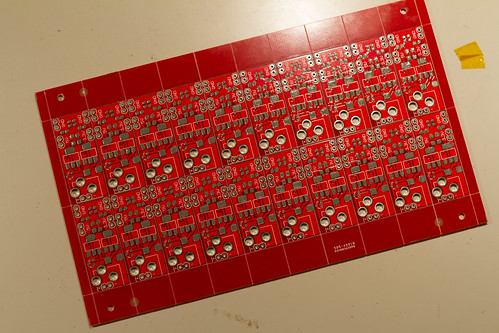
The grey paste can be clearly seen on the pads here.
Now we go through the process of dropping down our components. I use a vaccum pump with a fine tip I bought from AliExpress for this part. It makes it easier to lift the parts straight from the tape on to the board.
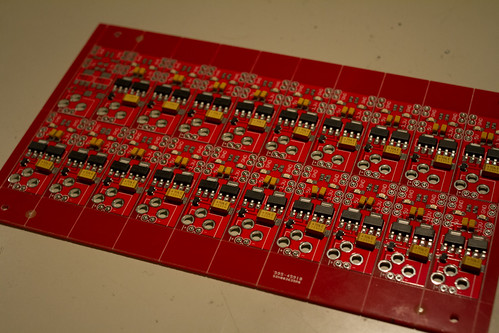
Once we've placed all the parts, the board looks like this:
Now we're ready to cook the board. I have a "modified" toaster oven driven from an SSR by a PID controller called osPID. The reflow profile is loaded into the osPID controller and it pulses the mains into the toaster oven to hit the temperatures the profile needs. There is a thermocouple inside the oven so the osPID controller is getting closed-loop feedback of how the oven is performing.
This is the board being cooked in the toaster oven:
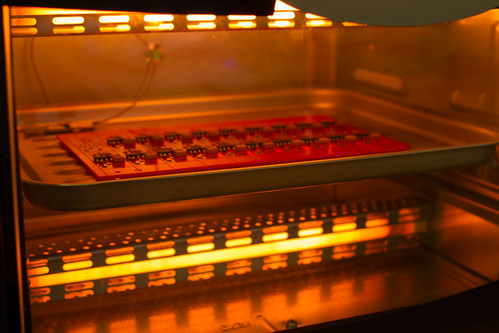
I try not to burn my fingers when removing the boards from the oven after the reflow process is done. You can see in the photo below the bright silver solder, showing it's now all soldered down:

Now we just need to start breaking the panel apart into the separate boards. Hackvana have used a v-score cut along the dividing line between boards and the boards and rails, so they can be snapped apart by hand easily.
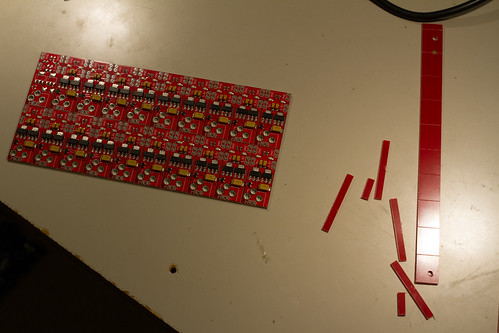
Finally we have all our boards separate and ready for testing!

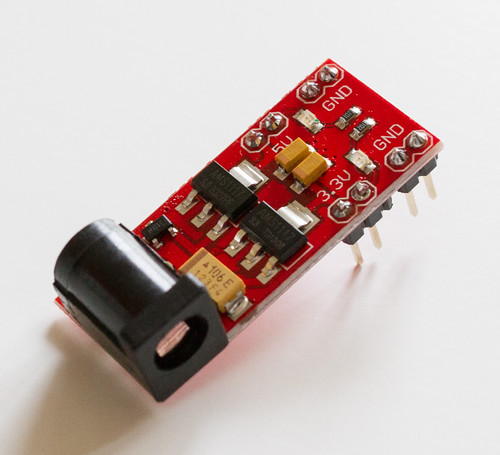
Once all the through-hole soldering is done, we get our nice shiny finished product, ready to be sent out into the hands of eager users!